
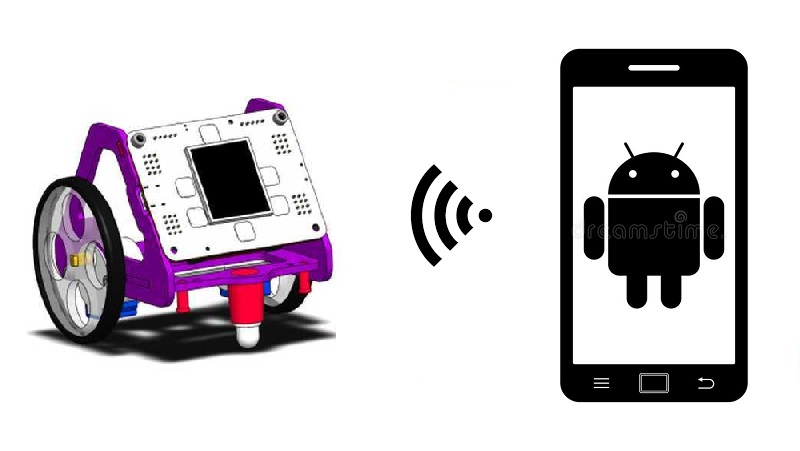
Controlling the Robot with App Inventor
App Inventor
- App Inventor is a block-based visual programming environment for creating applications for Android and iOS devices. It was initially developed by Google Labs in 2008, and is currently maintained by MIT (Massachusetts Institute of Technology).
Allows you to create applications in an easier way and in less time than with other more complex environments.
Apps can be tested in real-time before being compiled and installed on the device.
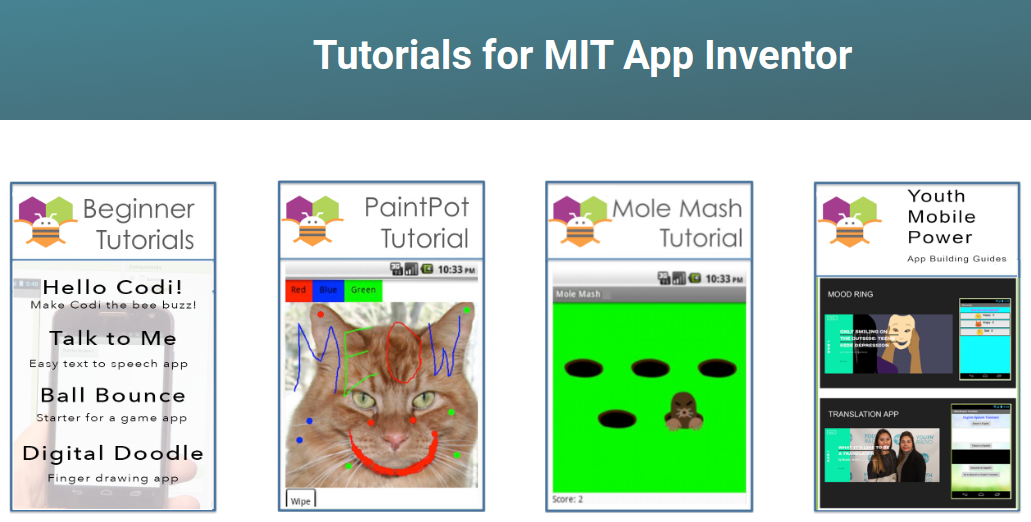
It has many tutorials to learn independently in addition to a very large community that shares its projects.
Getting started with App Inventor
Go to App Inventor website.
Click on the button that says Create Apps!.
Click on "Continue Without An Account", or enter your Google account credentials if you have them.
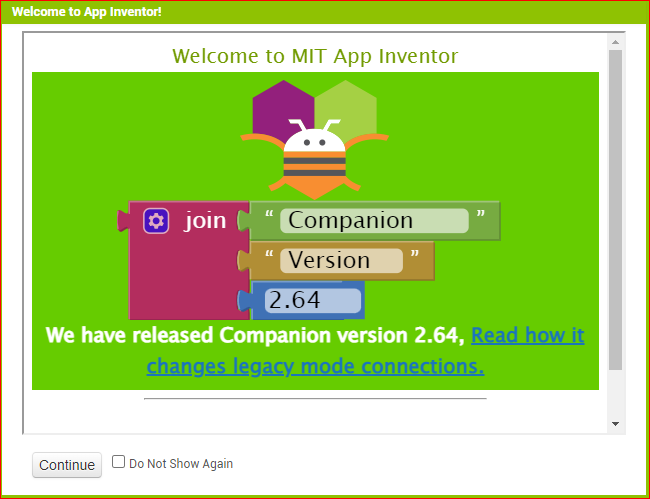
Click on Continue in the welcome window that appears below.
Create a new project
Optional: Change the language by clicking on English (above and on the right) and select your preferred language.
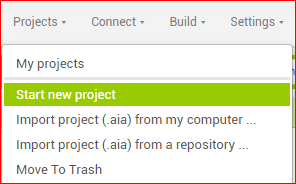
Create a new project by clicking + New project button.
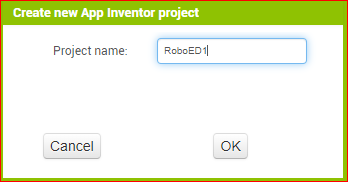
- Name it (for example RobotED1) and click the
OKbutton.
Synchronize with the AI Companion
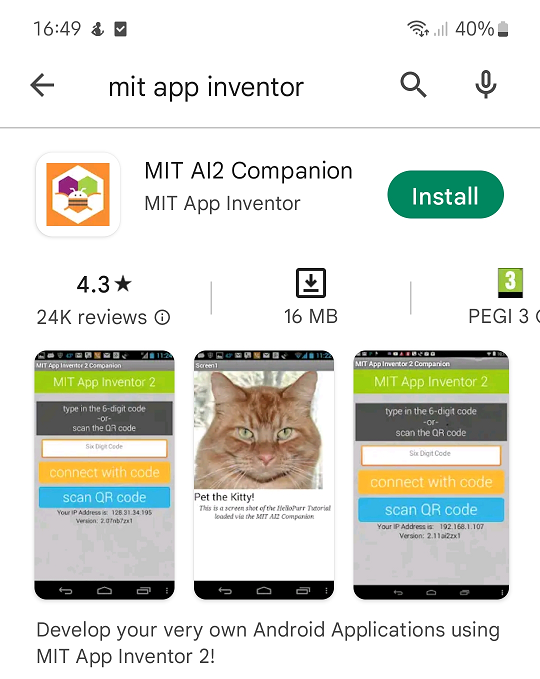
The MIT AI2 Companion is a mobile application that acts as a real-time testing tool for applications created with MIT App Inventor.
Download the MIT AI2 Companion to your Android or iPhone mobile or tablet and open it.
- Click on Connect→AI Companion menu option.
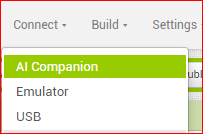
- Scan the QR code with the Scan QR Code option or write the code directly.
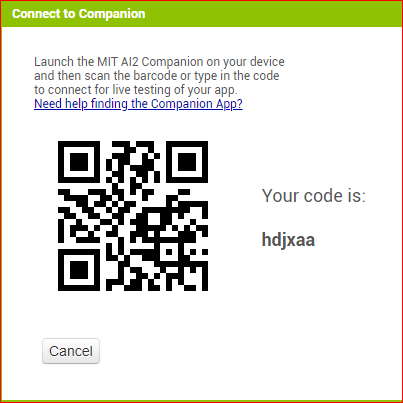
- NOTE: The computer and device must be on the same network.
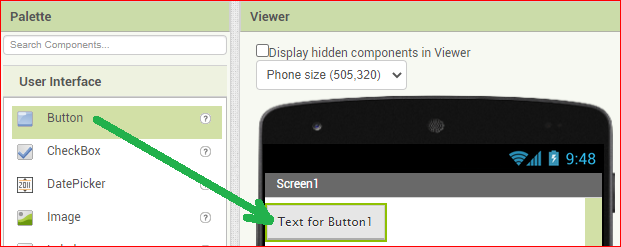
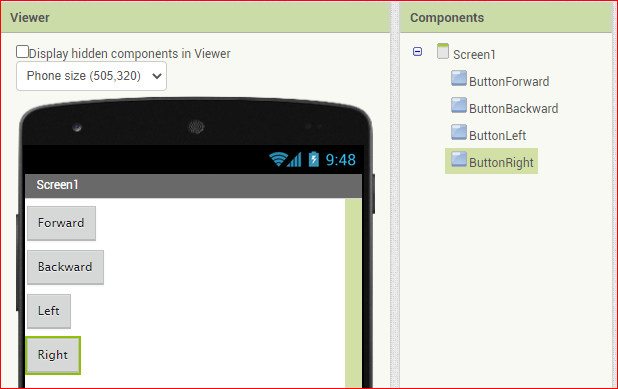
Adding buttons
- We will start by adding buttons to be able to send commands to the robot. To add one, drag the Button element from the Palette to the Viewer.
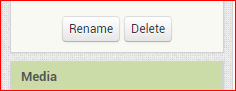
- Then we can change the names of these buttons by selecting them and clicking the
Renamebutton (putting ButtonForward for example).
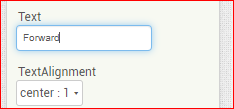
- We can also change the text it shows by going to the Properties section and modifying the Text property, introducing a new one (putting Forward for example)
Challenge 1: Add 3 more buttons and change their name and display text.

Solution to challenge 1
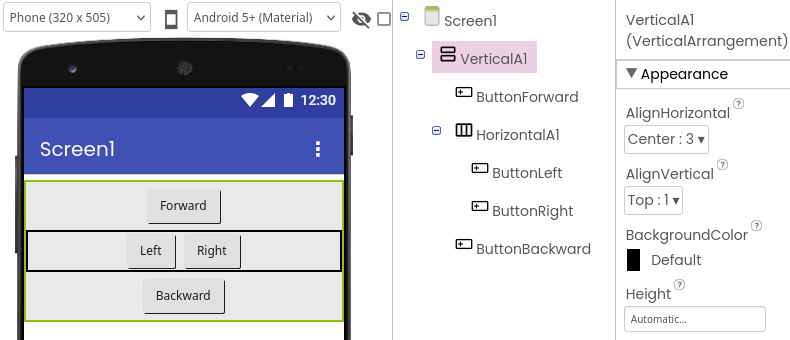
Organize the buttons
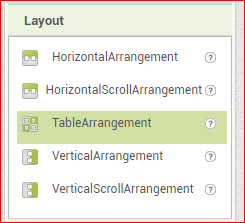
By default App Inventor places the screen components one under the other. To organize the components we need the elements found in the Layout category.
If we want to place the buttons in a distributed manner on the screen, we can use combinations of the VerticalArrangement and Horizontal Arrangement or the Table Arrangement.
Challenge 2: Place the buttons like those on a remote control.
Solution to challenge 2
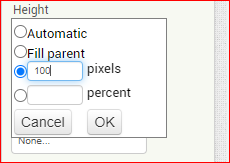
Change button size
When we add a visual component to our application they have the Height and Width properties set as Automatic. This means that their content is adjusted, as in the case of text of the buttons.
If we want to make the buttons have regular dimensions (square shape) we can assign a specific value of pixels in both properties, for example 100.
Detect pressed button
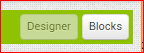
- To start programming the application, go to the Blocks section, next to Designer.
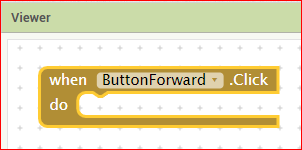
- Once inside, to detect when we press a button, select it in the Blocks section and take the
when ButtonForward.Clickblock.
Note: App Inventor block images can also be dragged into the App Inventor block editor to retrieve code.
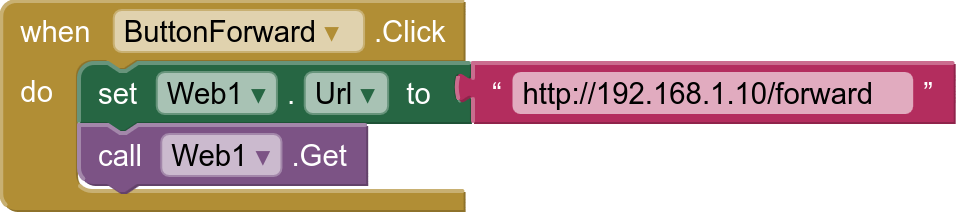
Send Web requests
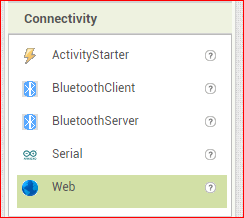
- In order to send web requests we need the Web component in the Connectivity category.
- To make a web request we go to the Designer and add the
set Web1.Url toblock to specify the address and thecall Web1.Getblock to execute the request.


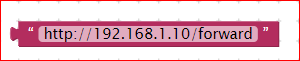
- To put the address we must use the
" "block available in the Built-in→Text category.
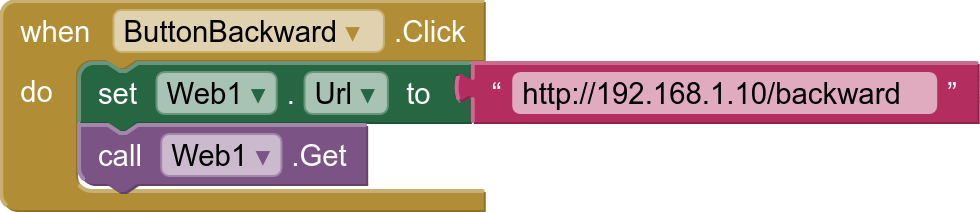
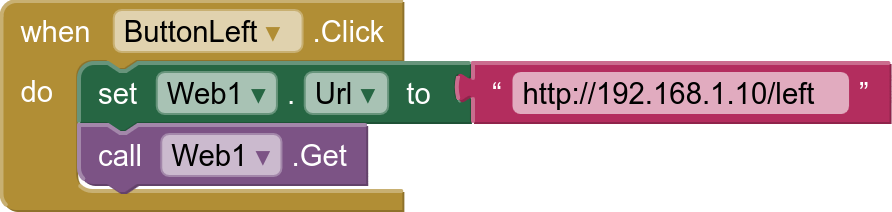
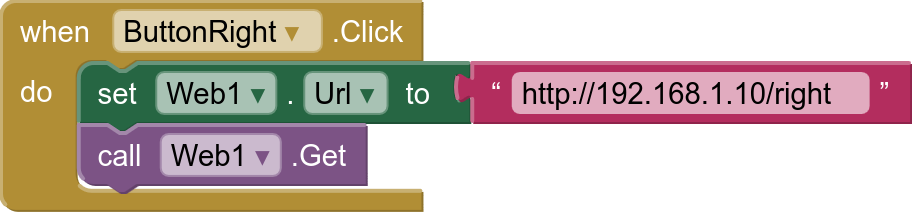
Challenge 3: Make each button execute the corresponding web request when pressed.
Solution to challenge 3
Connecting App Inventor and MicroBlocks via Bluetooth
 Only for boards with Bluetooth support such as ED1, micro:bit, M5Stack, and others.
- We have seen how to connect MicroBlocks and App Inventor via a WiFi connection. It is also possible to connect both programs using Bluetooth BLE through an extension.
How to Install the Extension for MicroBlocks
- To install an extension, go to the Extensions category (the last one) and click Import Extension.
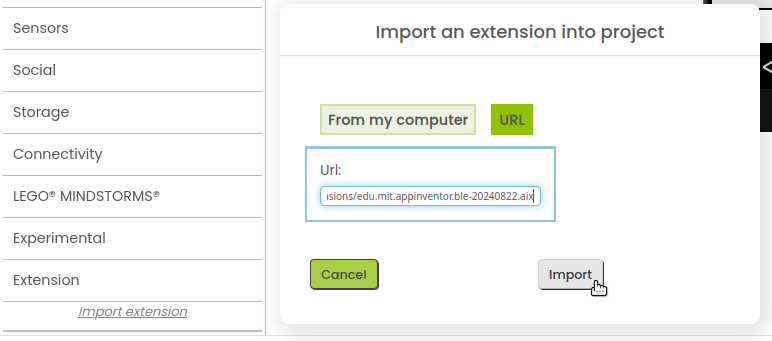
You can import the file (.aix extension) or enter the URL where the extension is located.
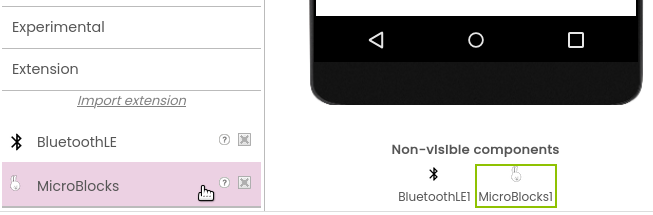
Two extensions need to be installed:
Once the imports are complete, we can add the extensions to our project and connect App Inventor with MicroBlocks.
Establishing the Connection
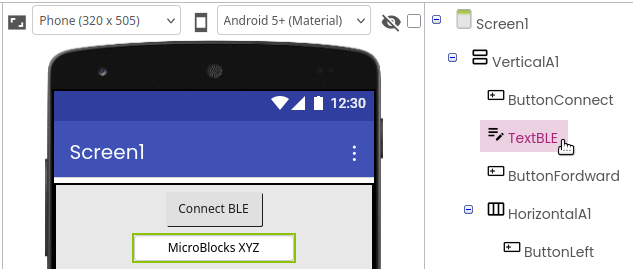
- To connect with MicroBlocks, we have added a connection button and a text box to enter the Bluetooth name of our board.
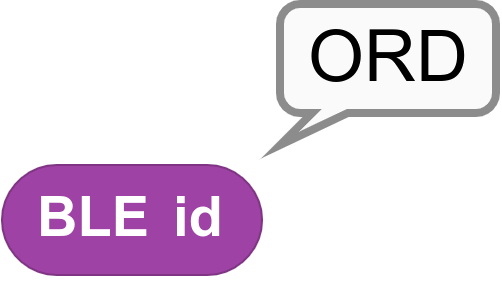
- The Bluetooth name of the board is "MicroBlocks" followed by three uppercase letters. If the board has a display, these letters appear when it is powered on. They can also be checked in MicroBlocks using the
BLE Idblock from the Input category.
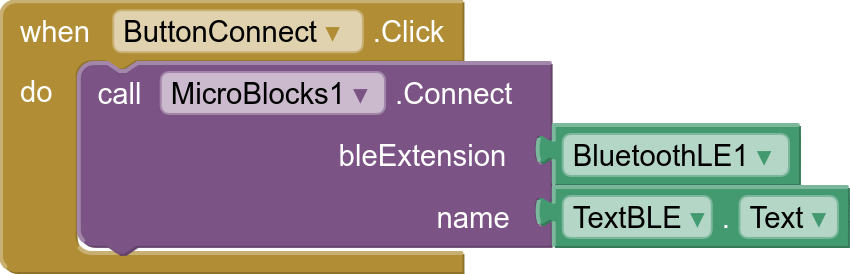
- In the Blocks editor of App Inventor, use the
when ButtonConnect.Clickblock. In the "bleExtension" parameter, connect theBluetoothLE1block from the BluetoothLE1 component.
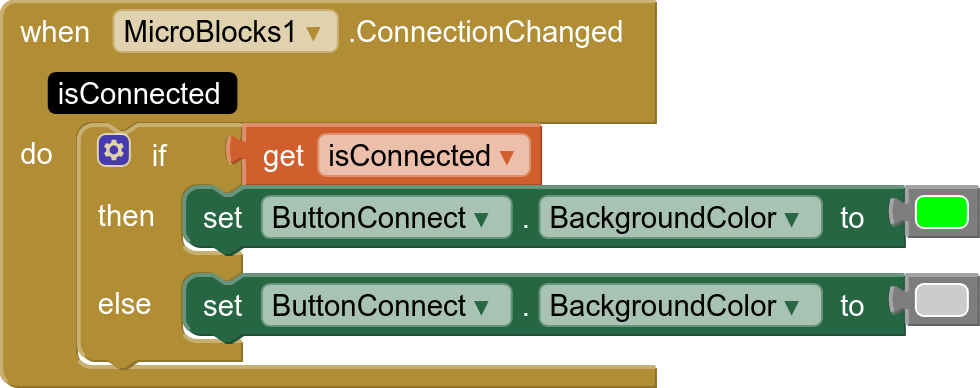
- You can change the button color to green when the connection is established using the
when MicroBlocks1.ConnectionChangedblock.
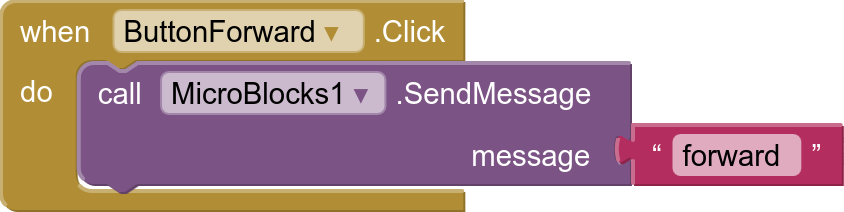
- The connection process is done through message exchange. The last step is to send messages to MicroBlocks using the
call MicroBlocks1.SendMessageblock.
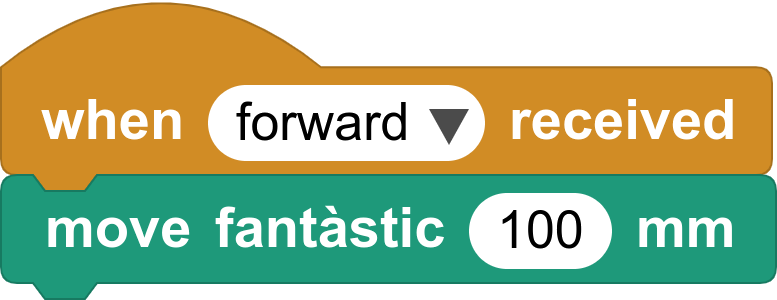
- In MicroBlocks, simply use the
when I receive _block to respond to messages.
Challenge 4: Make a new app with App Inventor using the extension for MicroBlocks.
Note: You must disconnect the board to establish the connection with App Inventor
Resources
- More information about the Bluetooth BLE extension for App Inventor
- More information about the MicroBlocks extension for App Inventor
- App Inventor application to control the robot via WiFi
- App Inventor application to control the robot via BLE
- Program to control the ED1 Robot via WiFi or Bluetooth
- Generic demo for App Inventor <-> MicroBlocks connection
| ⬅️ Previous activity | Next activity ➡️ |
|---|
© per Citilab Edutec 2019-2025.
Aquesta obra té una llicència CC-BY-SA 4.0.