
Playing with NeoPixels
 Per totes les plaques amb connexions digitals.
Connection of the Neopixel strip
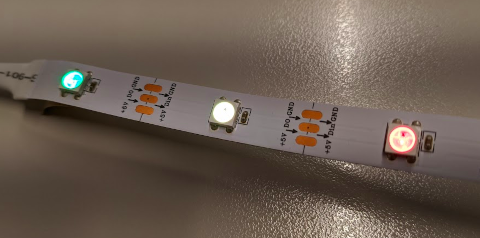
The NeoPixels are a strip of RGB (colored) LEDs that have a controller inside each one. This allows them to be controlled individually or collectively, achieving different visual effects.
We will work with a strip of 10 NeoPíxel LEDs with a connector prepared for the ED1.
![]()
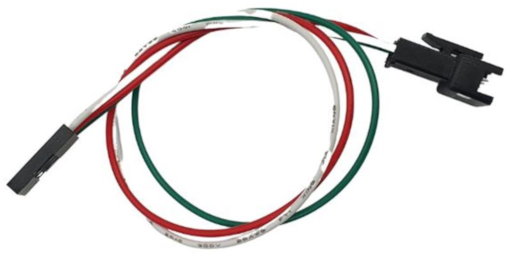
As in the case of the standard LED that we used in the previous practices, we will connect it to a digital pin following the same color code of the cables.
Several strips can be connected, up to a maximum of 50 LEDs fully illuminated in white (4mA per LED).
Initialization
- To use any NeoPixels strip (either integrated or external) we will need the NeoPixel library.
![]()
Before starting to program with it, we must indicate the pin where it is connected with the block
attach _ LED NeoPixel strip to pin _.To check that it works, we can use the
set all NeoPixels color _block.
![]()
Programming the LEDs
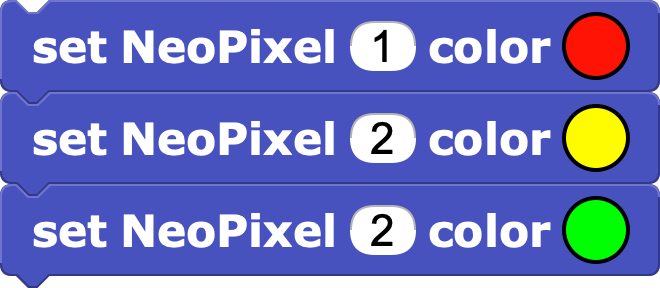
In addition to the above, we have different blocks available to work with the LEDs:
set NeoPixel _ color _to turn on an LED by specifying the color.rotate NeoPixels by _to rotate the color positions of all LEDs.color r _ g _ b _ (0-255)to get a color by specifying RGB (Red-Green-Blue) values.random colorto get a random color.
![]()
 |
 |
|---|
Lighting effects
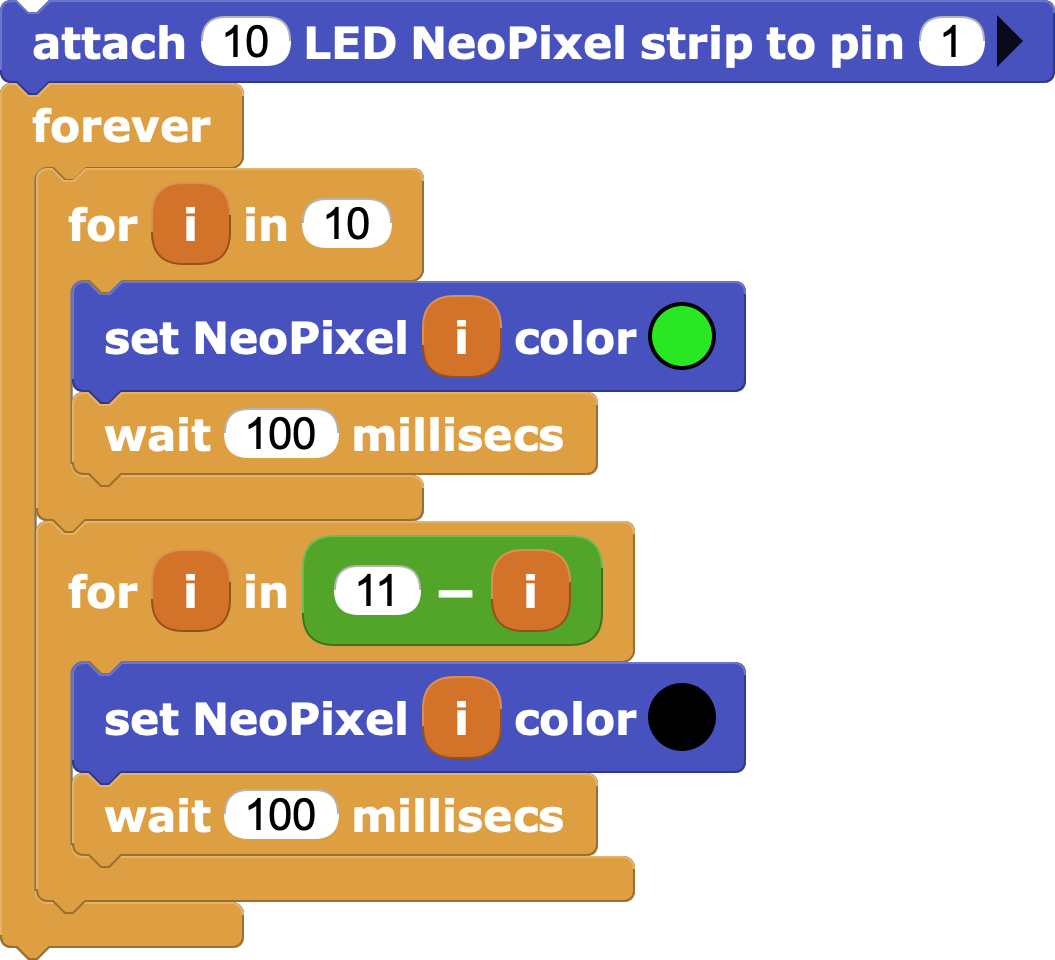
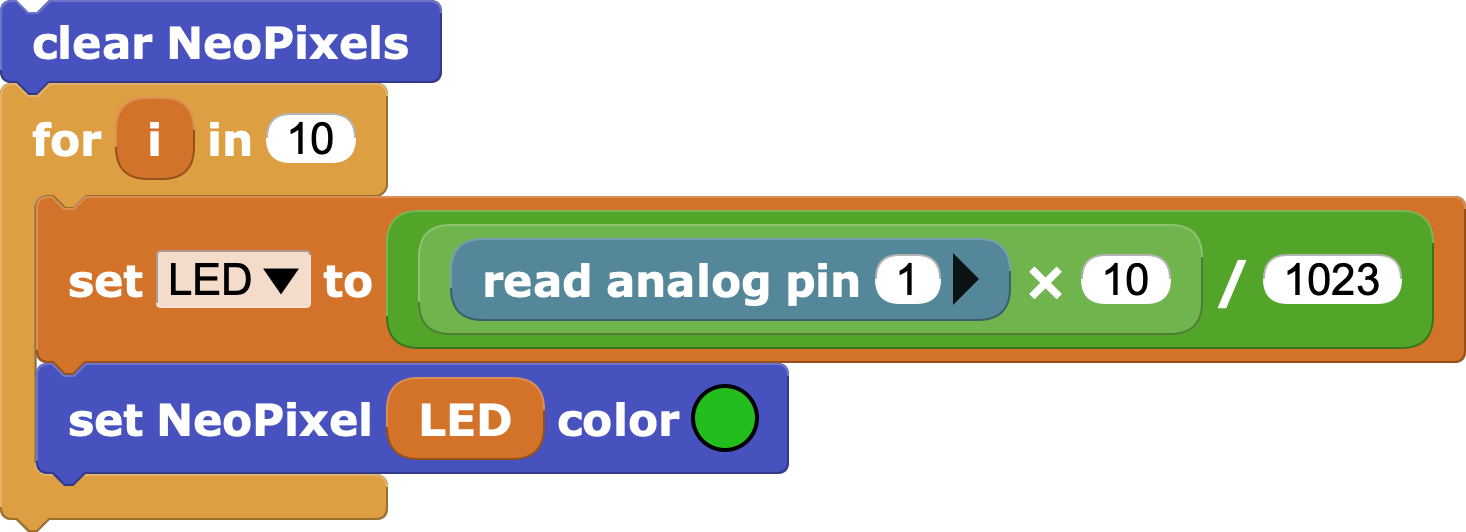
With the help of the loops we can make different lighting effects.
Using the
for i _ in _" block of the Control category, we can “loop” the strip of LEDs using the i variable to point to the LED that needs to be lit at any given time.
![]()
To turn off an LED, it is enough to assign it the color black.
You must remember to use the
wait _ millisecondsblock to be able to visualize it properly!
Challenge 1: Try to reverse the order in which the LEDs turn off in the previous example

Solution to challenge 1
Turn on the LEDs
We can try to manipulate the LEDs we want to illuminate with a potentiometer. For this it is necessary to map the value we obtain from the potentiometer to the number of LEDs to turn on.
In our case we will have to use a factor of 10, since it is the number of LEDs that our NeoPíxels strip has.
- It is recommended to create a variable to save the LED number to better understand the program.
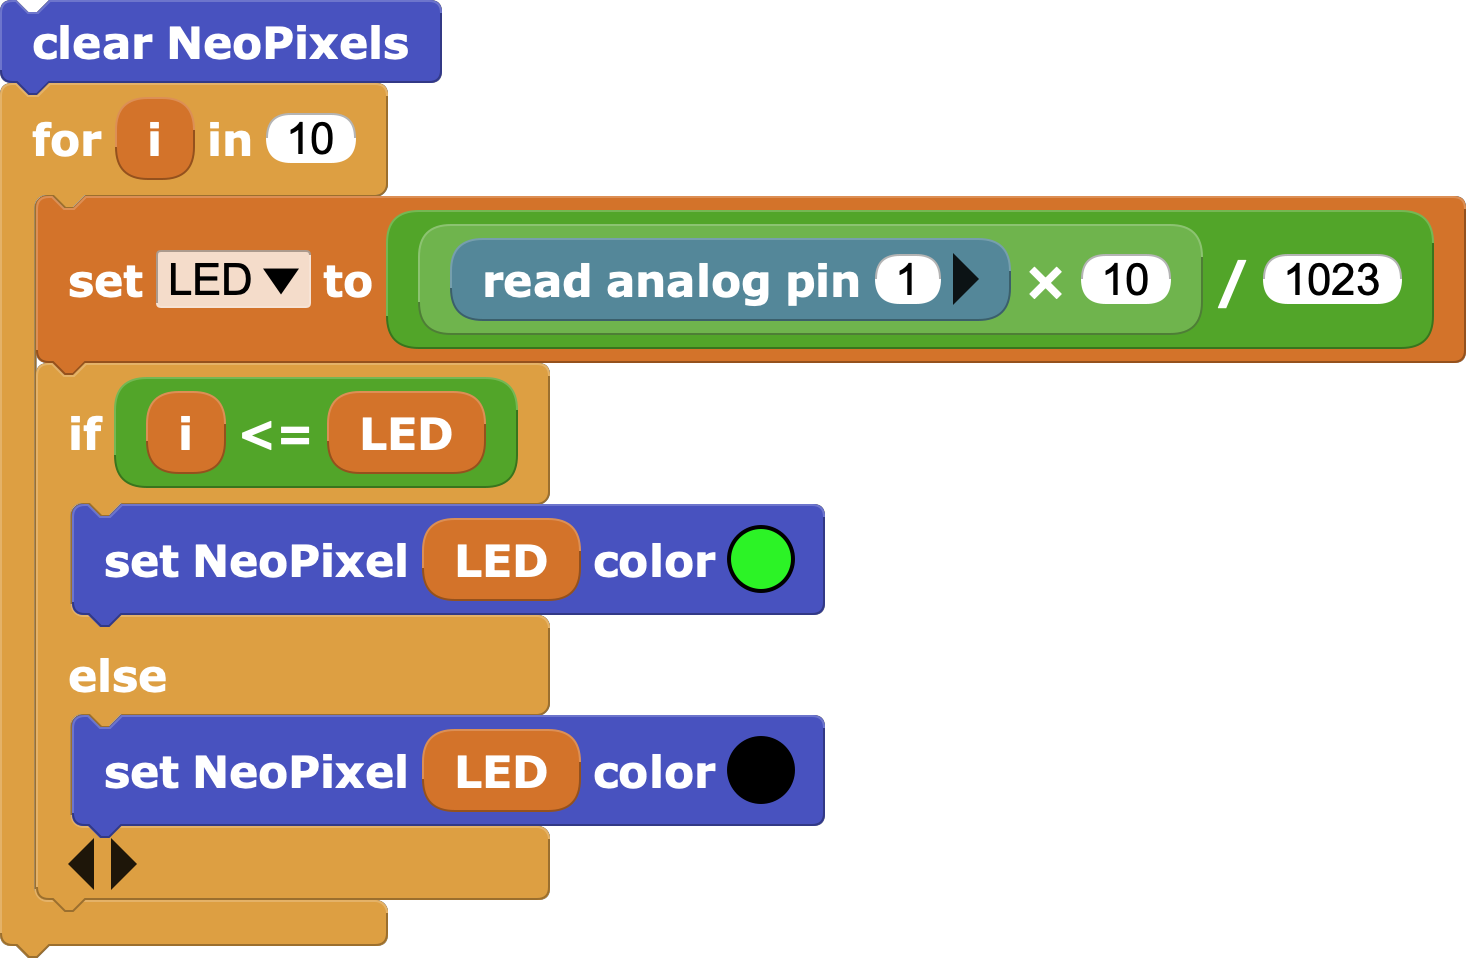
Turn off the LEDs
We will see that the LEDs, once lit, do not turn off, unless we run the program again.
If we want the LEDs to turn off progressively in the same way as they turn on, it will be necessary to turn off the LEDs that are "above" what we control with the potentiometer.
In other words, it will be necessary to go through the strip of LEDs with a
for i _ in _and check with anif _ elseif they need to be turned on or off.
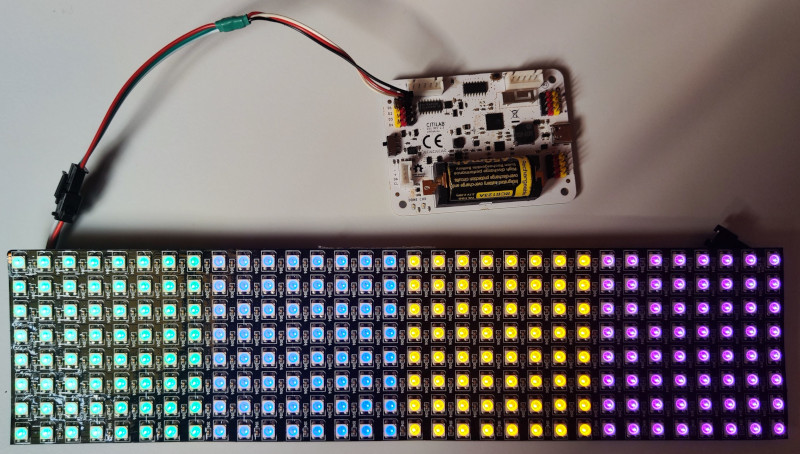
Playing with Panels
- Besides LED strips, there are also LED rings and panels of various sizes.
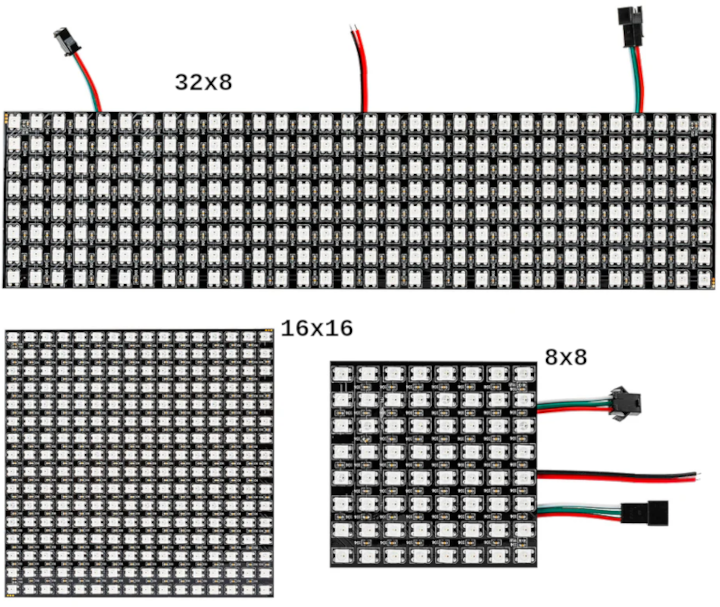
- To connect them to the board, we can use an adapter. Be mindful of power consumption, as panels contain many NeoPixels (the 16x16 and 8x32 panels have 256). It's better to use the 3.3V outputs rather than the 5V ones, avoid overly bright colors, and not light too many LEDs simultaneously.
For panels, additional blocks are needed. This allows working with a coordinate structure and using specific options for these elements.
To work with panels, the Graphics and Displays → NeoPanel library must be loaded.
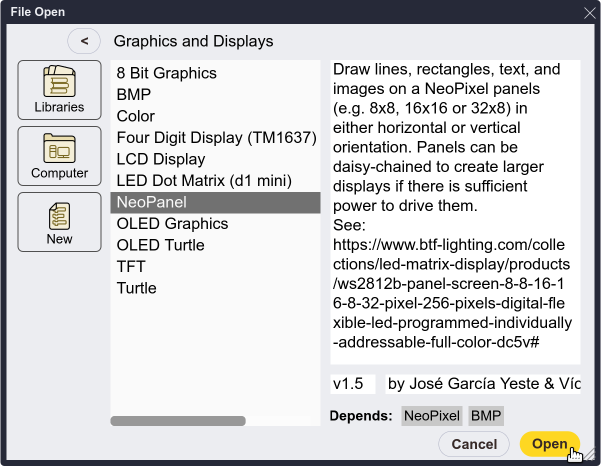
- The fundamental block is the initialization block, as it defines where the panel is connected, its dimensions, and orientation.

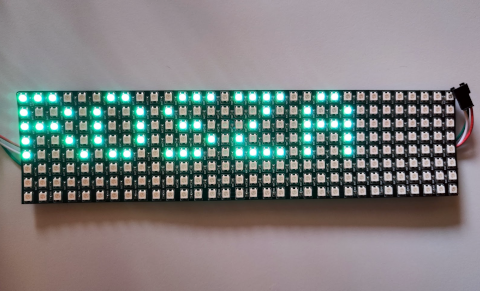
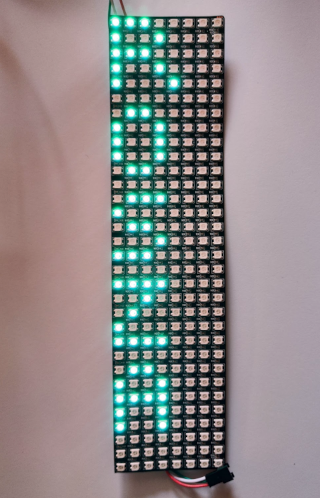
- For example, for a 32x8 panel, if we set the width to 32, calculations will be made so the panel functions horizontally. If, instead, the width is set to 8, it will function vertically.
 |
 |
|---|---|
 |
 |
- Now, we can work with an X, Y coordinate system and access blocks to draw points, lines, rectangles, text, and even images.
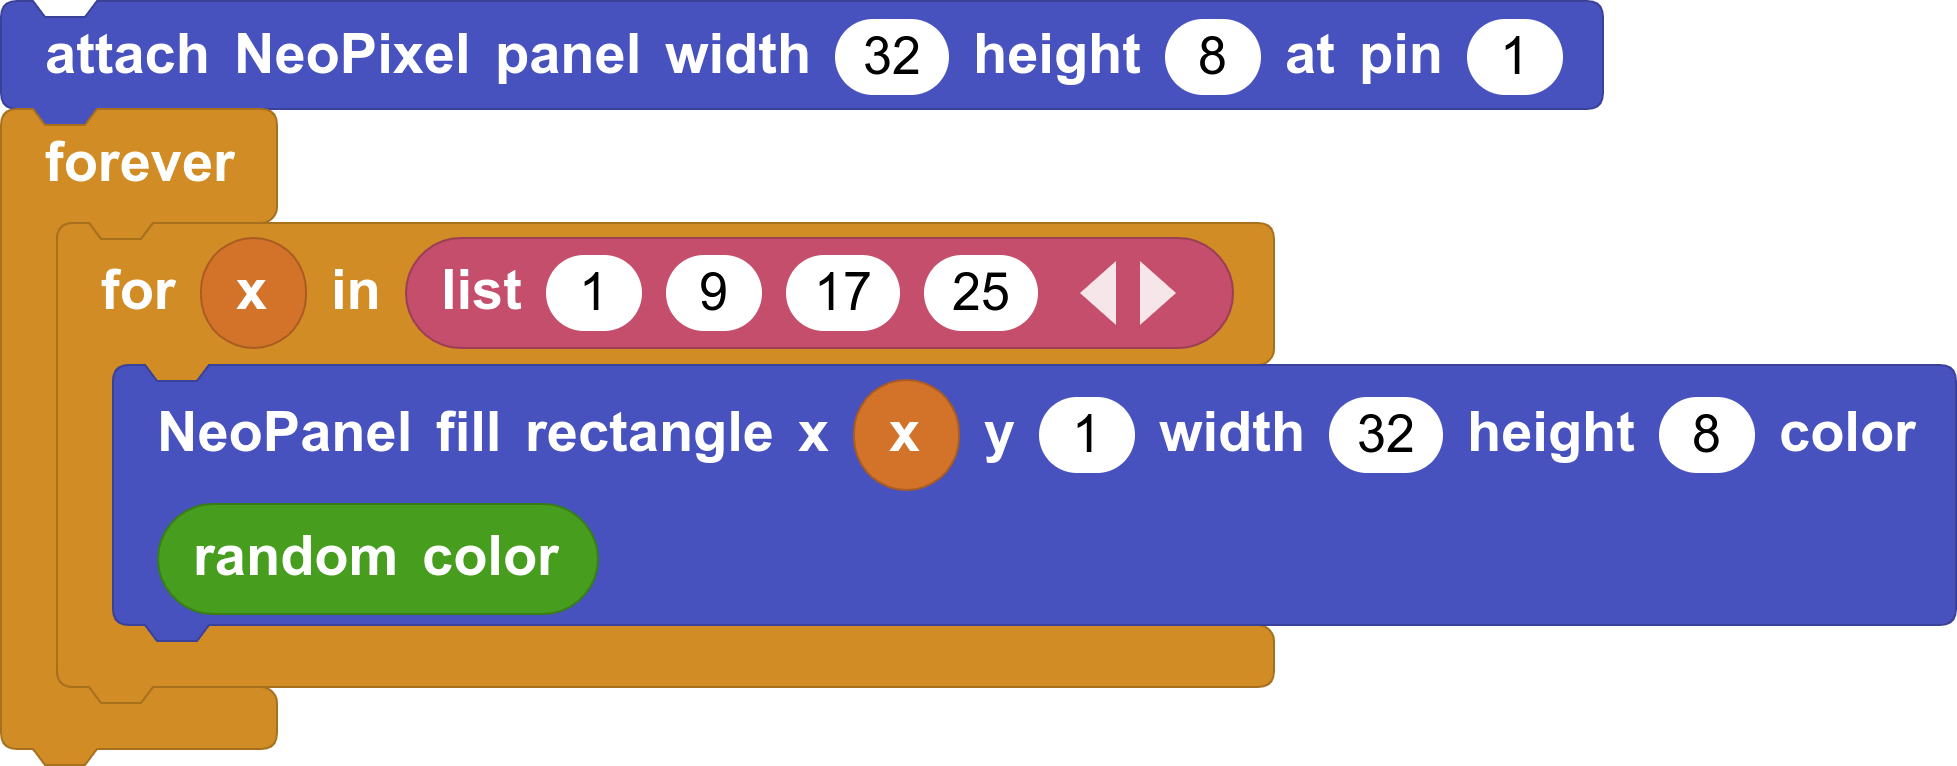
Example: Divide the 32x8 panel into 4 sections that change color randomly.
Challenge 2: Create a spectacular effect with a NeoPixel panel.
For advanced users only
- MicroBlocks limits the maximum intensity of each LED to prevent overheating problems due to excessive power consumption. With caution, and and external power supplies, more LEDs can be used, along with the advanced block
set Neopixel max brightnessfrom the Others→System→miscPrimitives library."

| ⬅️ Previous activity | Next activity ➡️ |
|---|
© 来自 Citilab Edutec 2019-2025.
This work is licensed under a CC-BY-SA 4.0 license.