

Visualize the sound volume
Color gradient
In this activity we will make a colored bar, to represent the volume of the sound. The Neopixel strip will light up from green to red, passing through yellow.
One way to do this would be to check the LED number and assign it a specific color, but it is an inefficient and not a very scalable method.
The RGB model defines color with quantities for red, green, and blue, and does not allow for easy transitions from one color to another that is not one of these fundamental colors. To gradually change from one color to another, there is a more suitable model, the HSV color model.
HSV color model
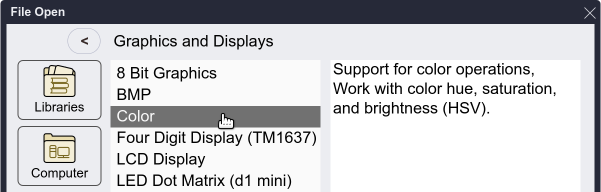
- To deal with this color model it is necessary to import the library Graphics and Displays→Color:
- The
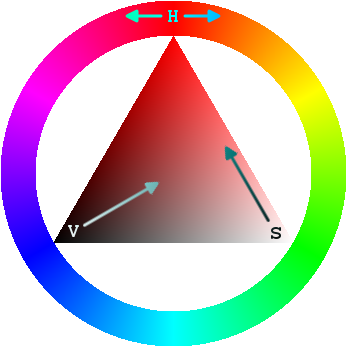
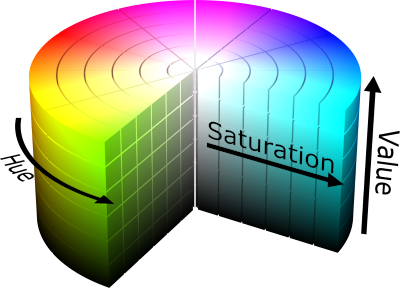
color hue _ (0-360) saturation _ % brightness _ %bloc allows us to obtain a color by specifying the hue, saturation and brightness or value.

If we set the saturation and brightness values to the maximum (100) we only need to vary the hue (H) from 0 to 360 to obtain any color.
This block returns a color in encoded RGB format, so that blocks from the NeoPíxel library and others such as TFT or Tortuga can display the resulting colors.
 |
 |
|---|
The result we get is a list with the RGB values of the color. The saturation and brightness values will respectively define the minimum and maximum value that these can obtain.
In this model, red corresponds to 0°, yellow to 60°, and blue to 240°.
Challenge 1: Find the range of values to go from red to green

Solution to challenge 1
Red

Yellow

Green

Show the color gradient
We already have that to generate the desired effect we will have to vary the tone between 0 and 120.
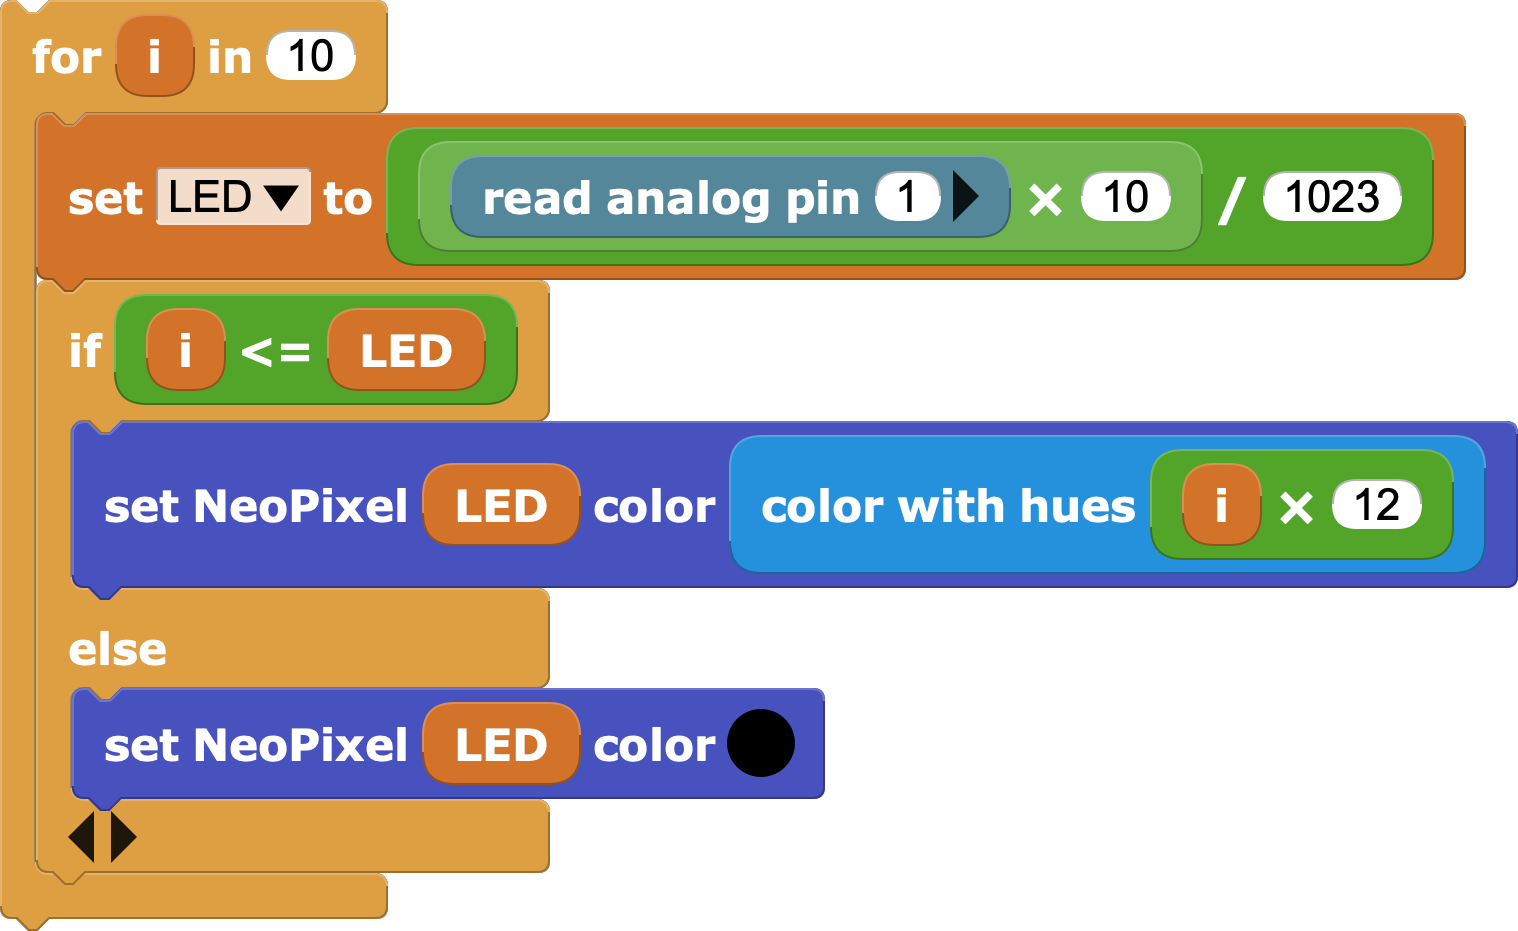
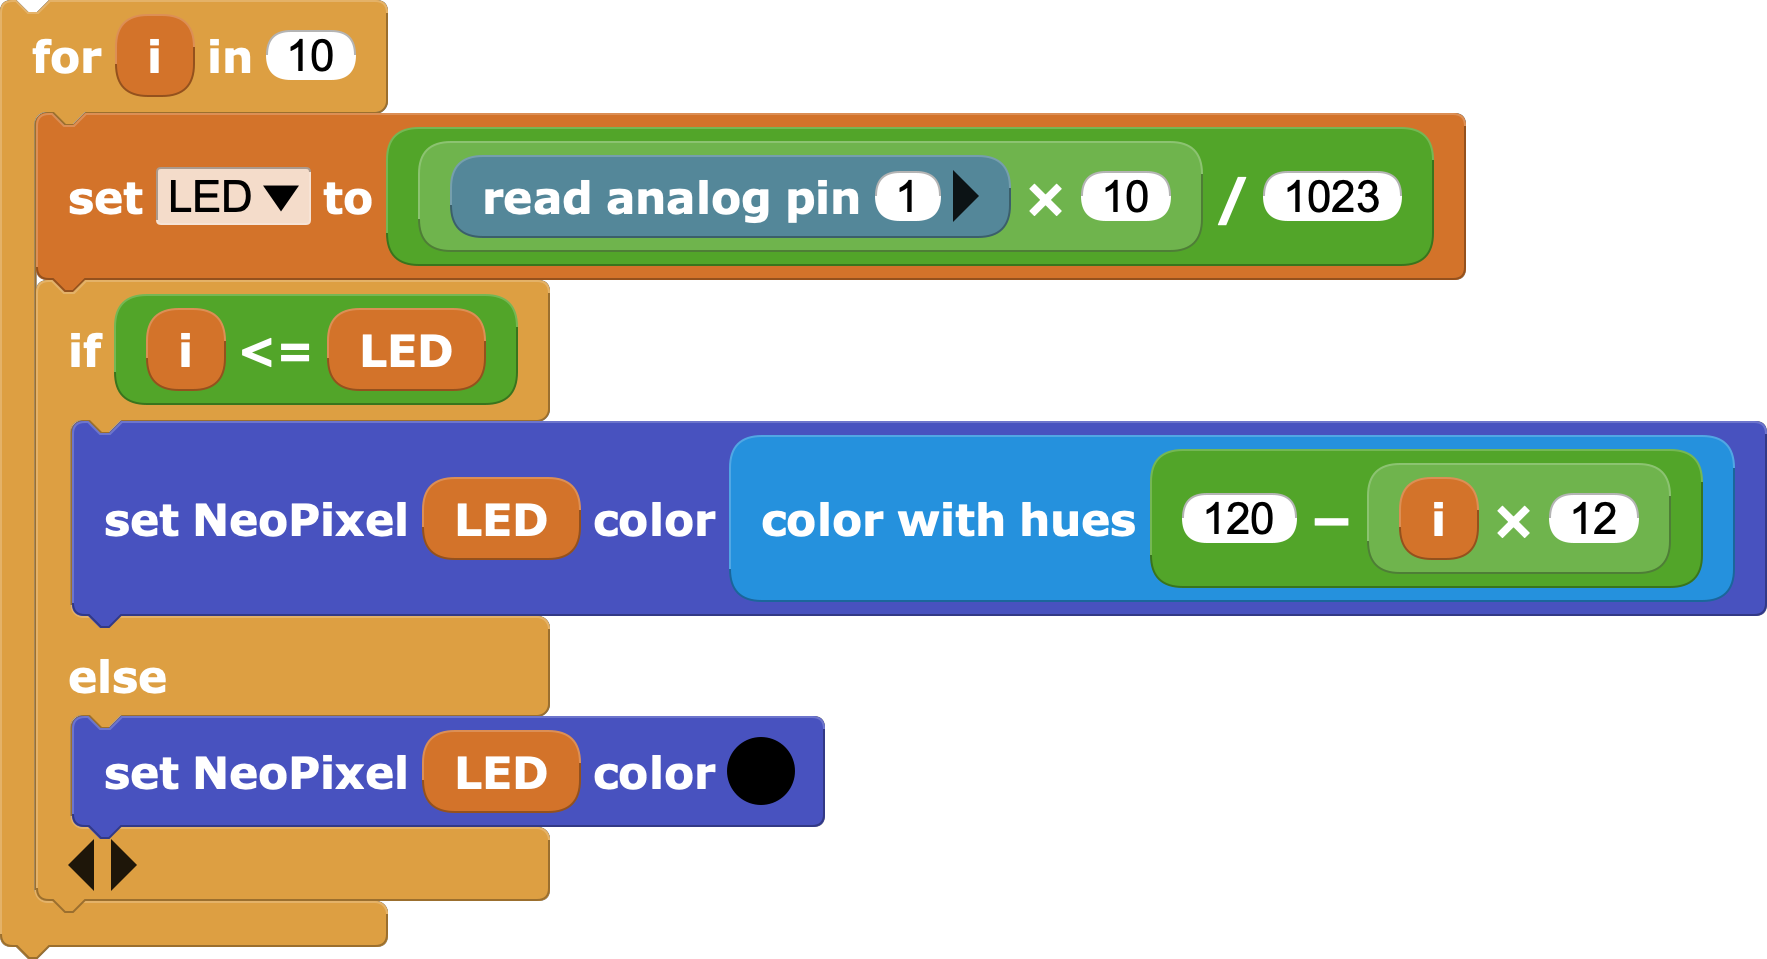
All that remains is to use this block in the program of the previous unit, with the potentiometer connected, in order to obtain the color gradient.
Since the range we want is from 0 to 120 and we have 10 LEDs, we will have to use a factor of 12.
This block will need to go inside a repeat block, for example a
foreverblock so that it works continuously. It is advisable to put a small wait so that the board does not do more operations than necessary.But is the order of the colors correct?
Challenge 2: Reverse the order of the gradient so it starts in green and ends in red
Solution to challenge 2
Microphone
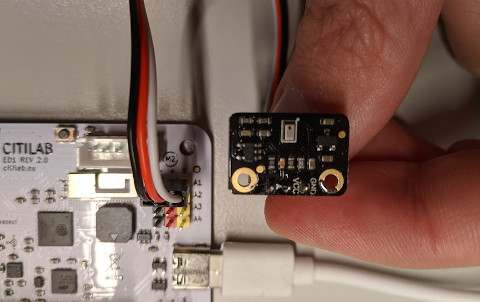
 Some boards have a built-in microphone: micro:bit V2, micro:STEAMakers, M5Stack-Core2, Boardie and others.
Now we will change the potentiometer for a microphone, so that the volume of the sound it receives will be reflected in the number of illuminated NeoPixels.
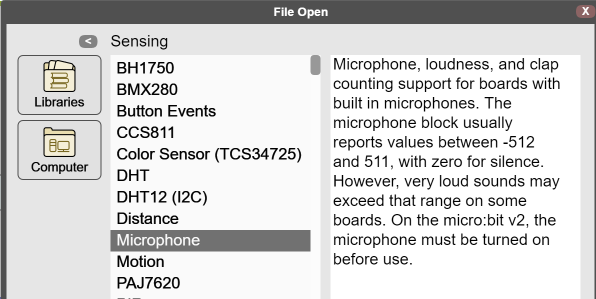
To use the microphone we will have to open the Sensing→Microphone library.
Last steps
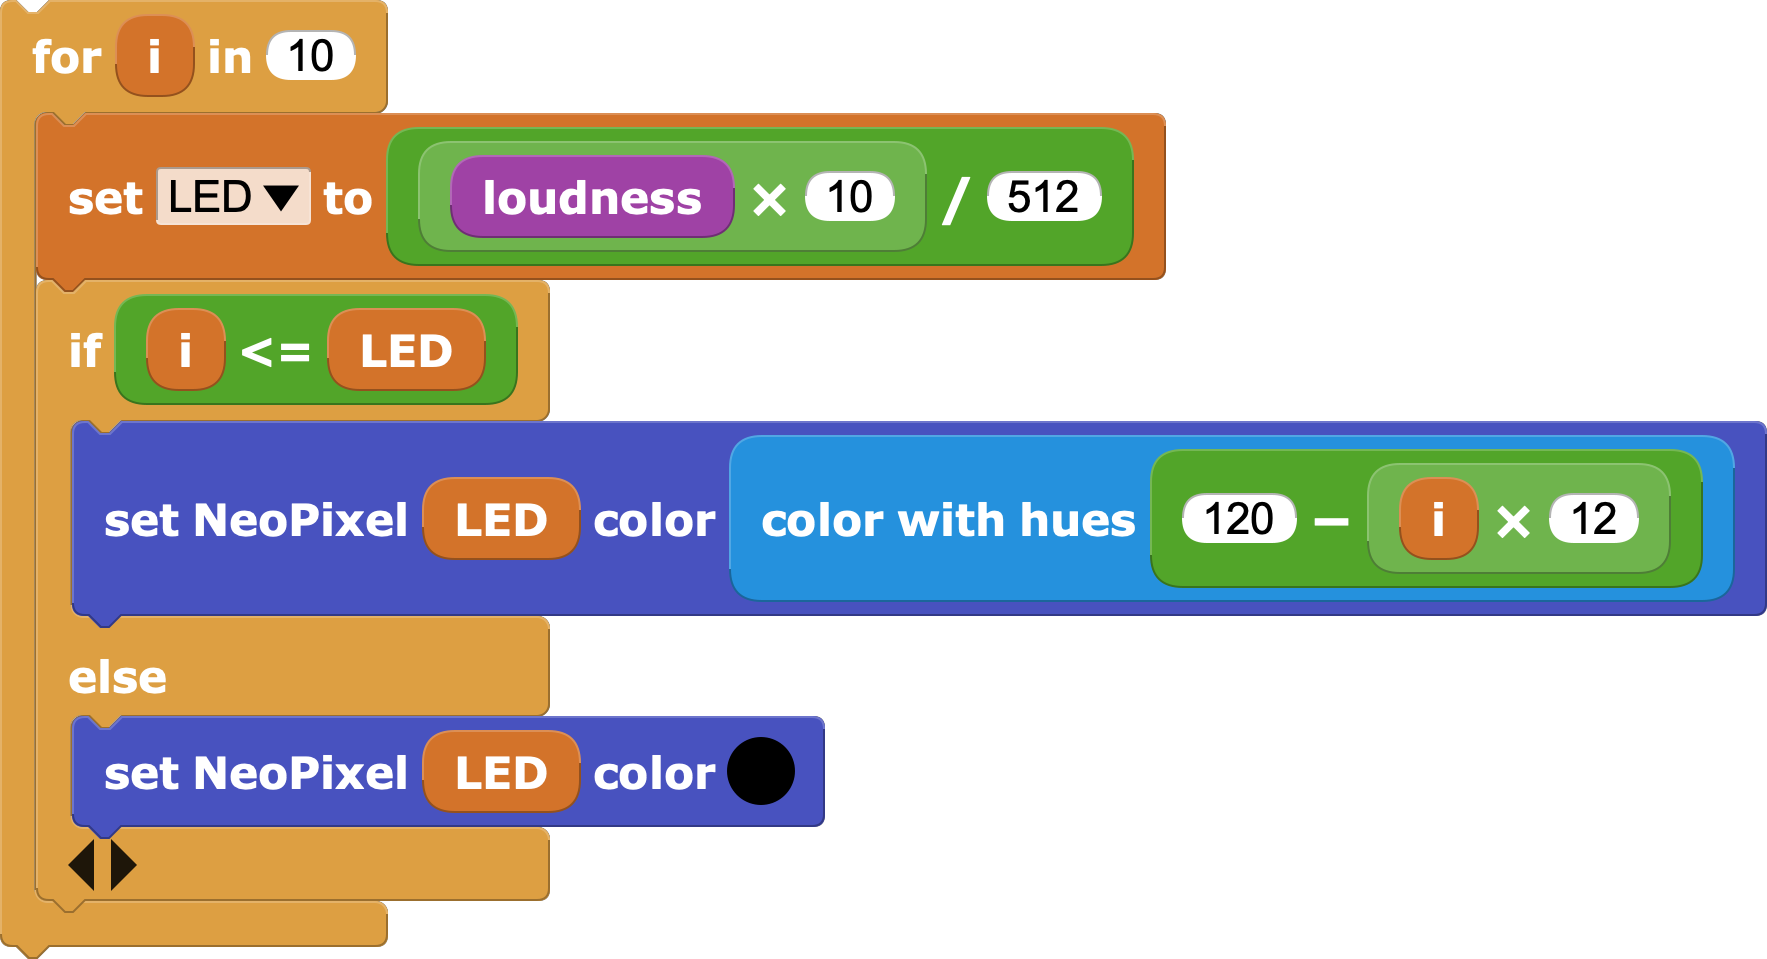
Finally, you just need to use the
loudnessblock to capture the level of the sound that the microphone receives.We can "control" the sensitivity level of this by reducing the division factor of 1023 to a smaller value, for example half.
| ⬅️ Previous activity | Next activity ➡️ |
|---|
© by Citilab Edutec 2019-2025.
This work is licensed under a CC-BY-SA 4.0 license.