
Virtual Dial
Potentiometer
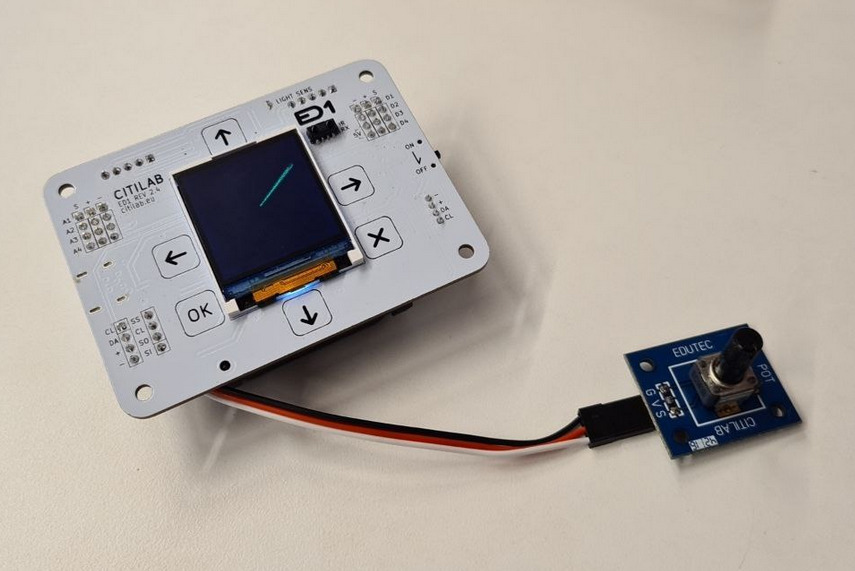
- In this example we will use the potentiometer, a component that allows us to regulate the voltage level that can be read on an analog input pin.

- It has three terminals: one for the power input (5V or 3.3V), another for ground (GND) and the last one for the output voltage.
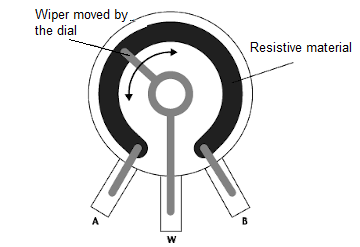
- It works as a voltage divider: the output will give a voltage value depending on the position of the dial (the closer to the power pin, the higher the value).
Connection and reading
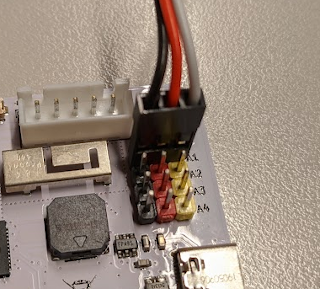
To connect it to the board you will need to use one of the analog pins.
It must be connected following the same color scheme, i.e. red with red, black with black, etc.
Once connected, we can find out its value using the
read analog pin _block from Pins category, while specifying the pin number where we have connected it.

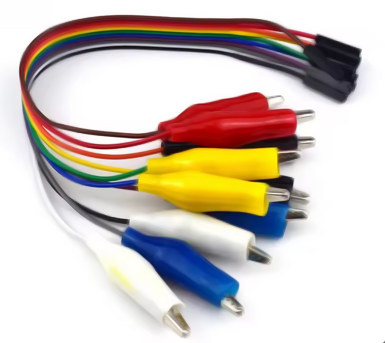
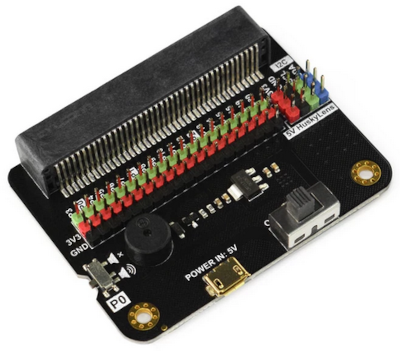
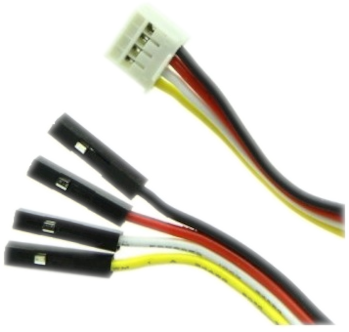
 For boards like the micro:bit or the micro:STEAMaker we will have to connect with alligator clips or with an adapter for pin connections. For boards with 4-pin connectors there are adapter cables for pin connections.
 |
 |
 |
|---|
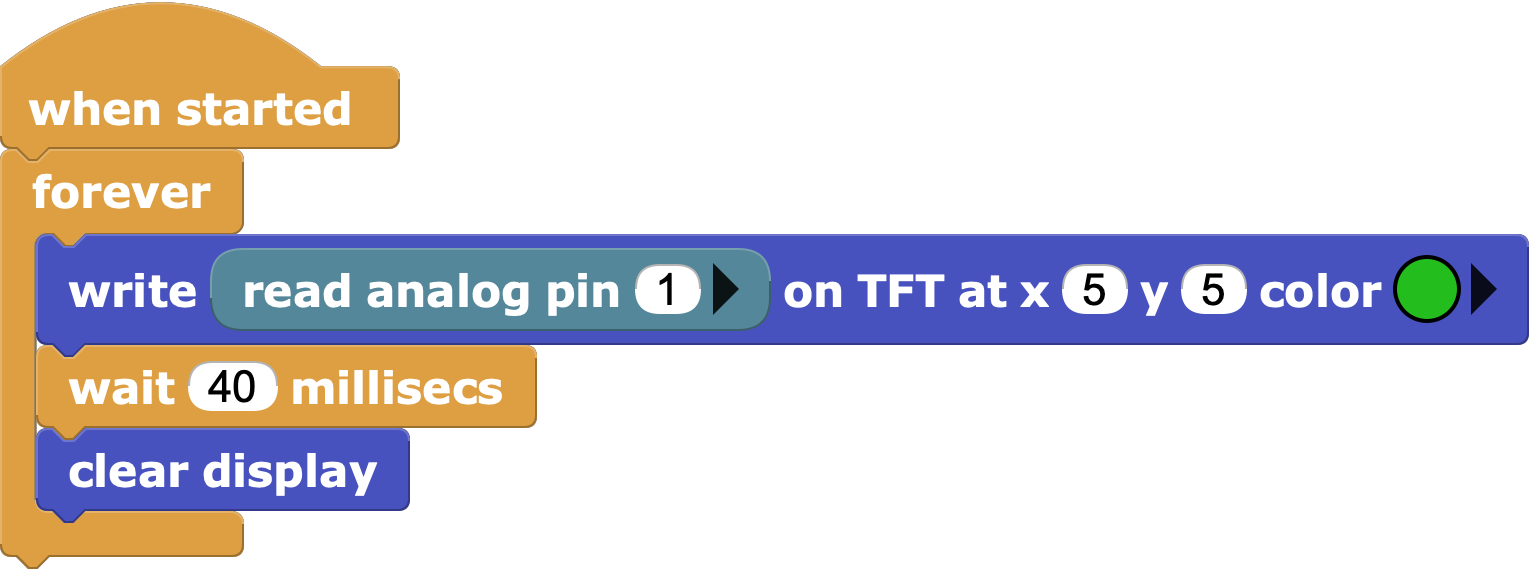
Challenge 1: Make a small program that displays the value read from the potentiometer

Solution to challenge 1
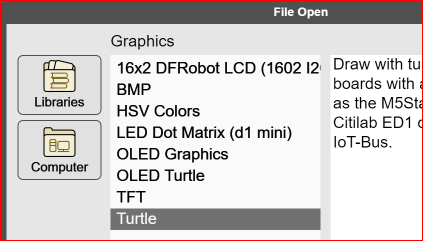
Turtle Library
In addition to the numerical value, we will try to represent the movement of the potentiometer on the screen with a "virtual dial".
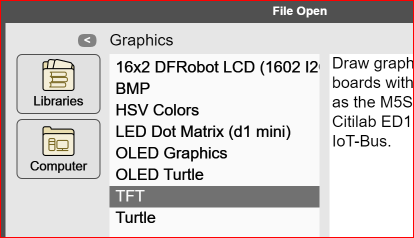
For this we will use the Turtle library in Graphics and Displays folder, which allows you to draw on the screen in a way similar to the language LOGO and of course, as in Scratch or Snap!).
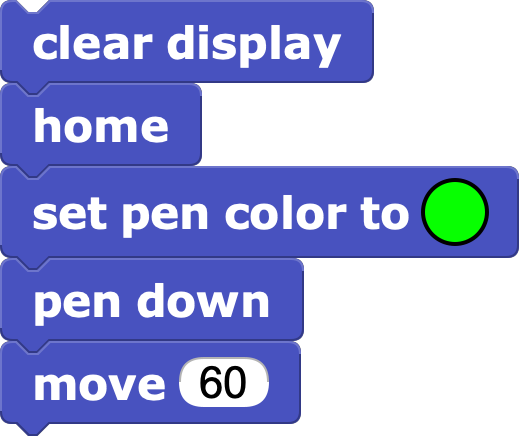
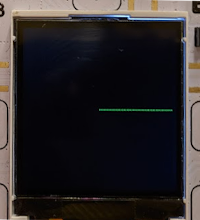
Draw a line
- To be able to draw a line, the following blocks should be used:
hometo start from the center of the screen.set pen color to _to select a color (default is green).pen downto down the pen.point in direction _to point in the desired direction before drawing the line. (home includes points in direction 0).move _to move an amount of pixels in current direction.
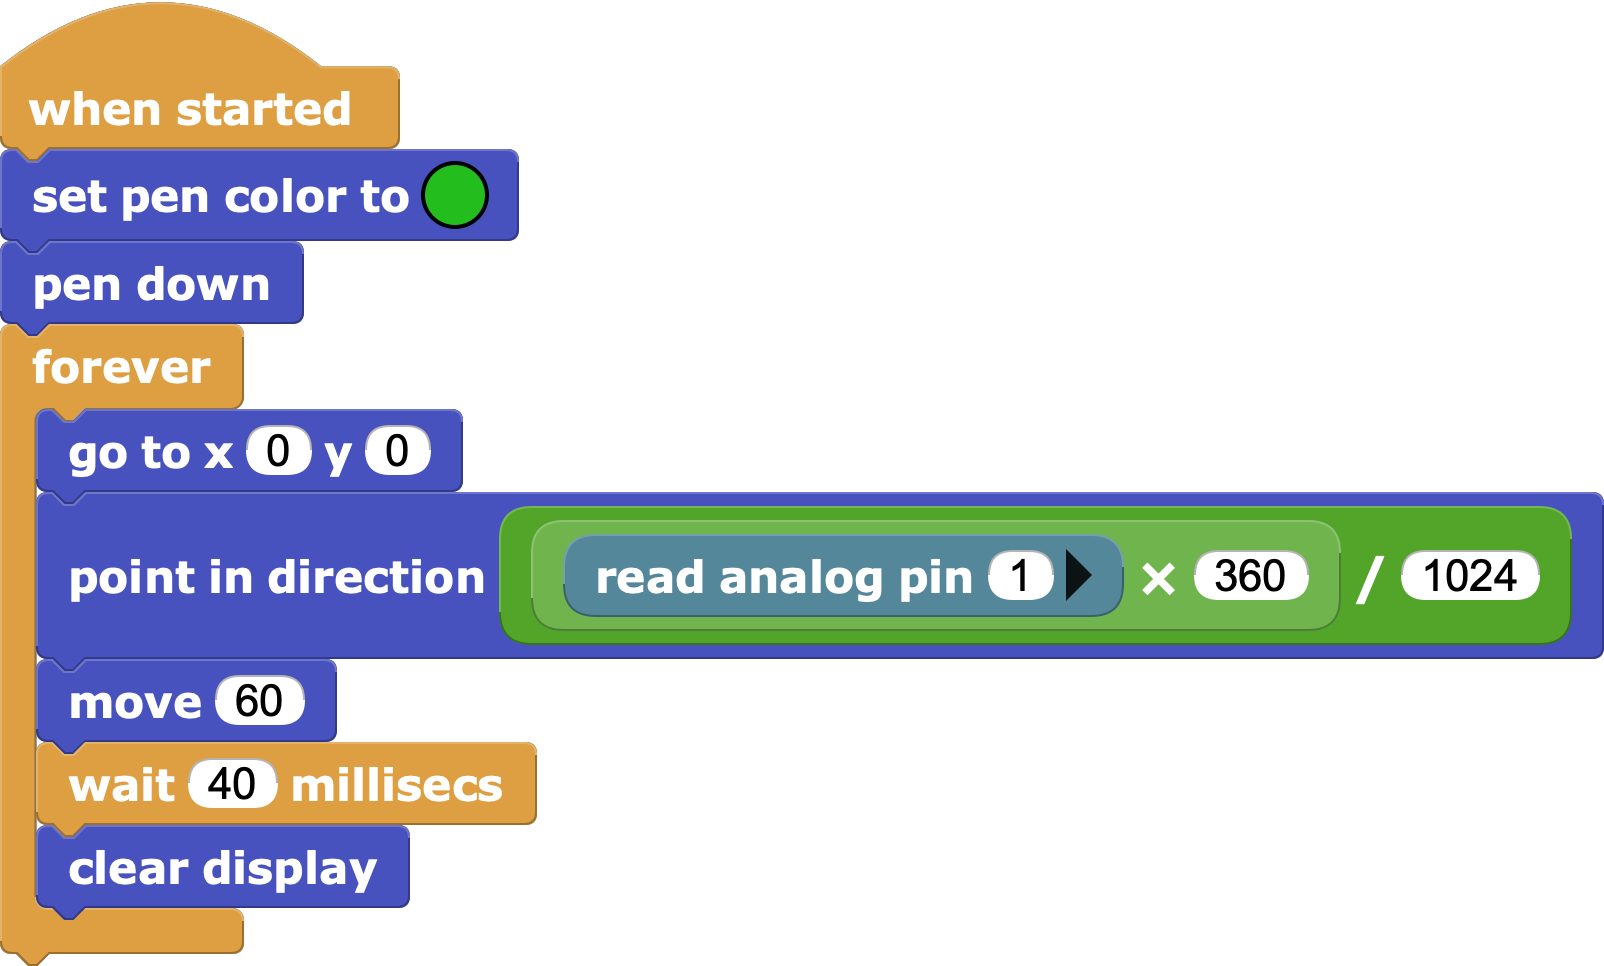
Challenge 2: Find the formula to go from the analog input value range (0-1023) to the direction range (0-360º)
Solution to challenge 2

Or also:

Once we have the formula we can use it to vary the direction of the line according to the position of the potentiometer reading.
The blocks for fixing the pencil color and lowering it do not need to be inside the loop, they only need to be executed once before starting to draw.
We will take advantage of the code we had previously to display the value per screen and move the dial at the same time.
| ⬅️ Previous activity | Next activity ➡️ |
|---|
© por Citilab Edutec 2019-2025.
Este trabajo tiene una licencia CC-BY-SA 4.0.