Introduction
A micro:bit v2 can record, playback, and graph sound. Although this project has limitations -- the micro:bit has only enough RAM memory to record about 2 seconds of sound and the sound is not loud through the built-in speaker -- it demonstrates the all key principles digital sound.
A small amplified speaker, such as the inexpensive portable speakers sometimes used with mobile devices can be used to make the sound louder.
Recording Sound
This script records about two seconds of sound when the A button is pressed:

The script creates a list to hold the recorded sound and then fills it with sound samples from the microphone.
Turning Sound into Numbers
Sound waves make the air pressure fluctuate. Those fluctuations push your ear drum (or the diaphram of a microphone) in and out. Although the movements are tiny, your ear is able to detect them and tell your brain what you are hearing.
A sound sample is a number the reflects the air pressure at the microphone at the exact moment that the microphone value was read. Digital sound is a sequence of sound samples collected at regular intervals.
To capture digital sound, you need to sample the air pressure thousands of times per second. Our script records about 10 thousand samples per second. Higher sampling rates result in better sound quality. CD's use a sampling rate of 44.1 thousand samples per second and professional sound engineers often record sound at 88, 96, or even 192 thousand samples per second.
Playing Sound

Press the A button to record about 1.5 seconds of sound. The microphone light on the micro:bit will turn on while sound is being recorded.
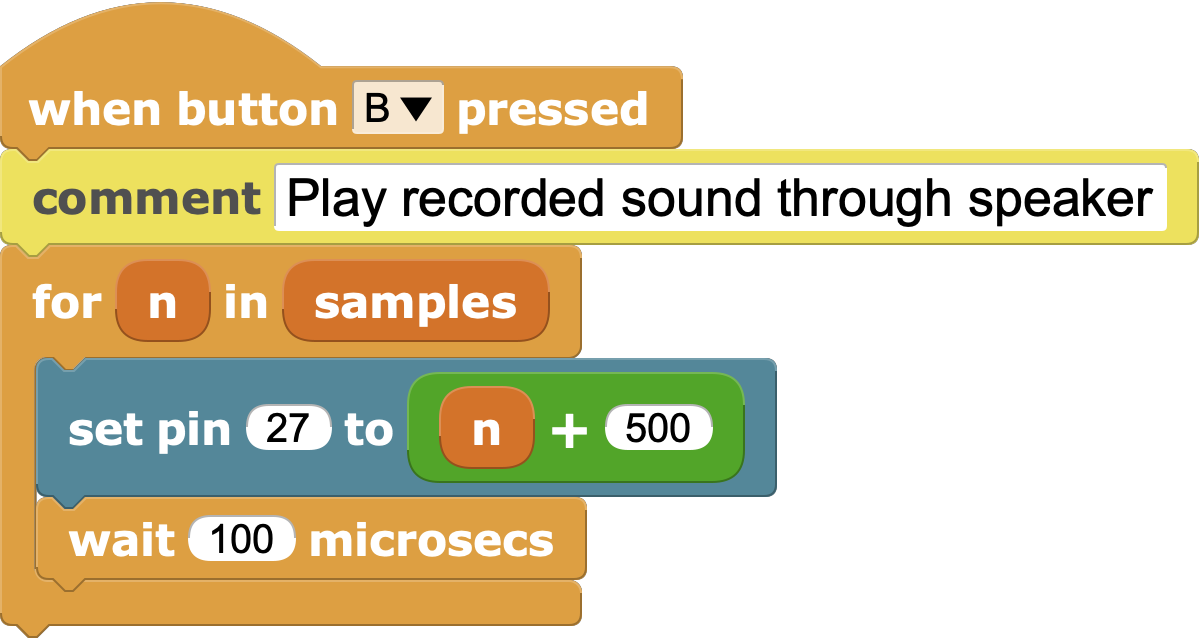
Press the B button to play back the recorded sound through the built-in speaker. It isn't very loud so you will need to hold the micro:bit close to your ear.
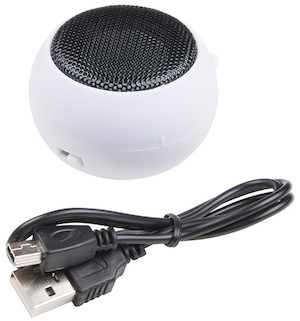
You can make the sound louder by using a small, self-amplified speaker like this $5 Hamburger Mini Speaker

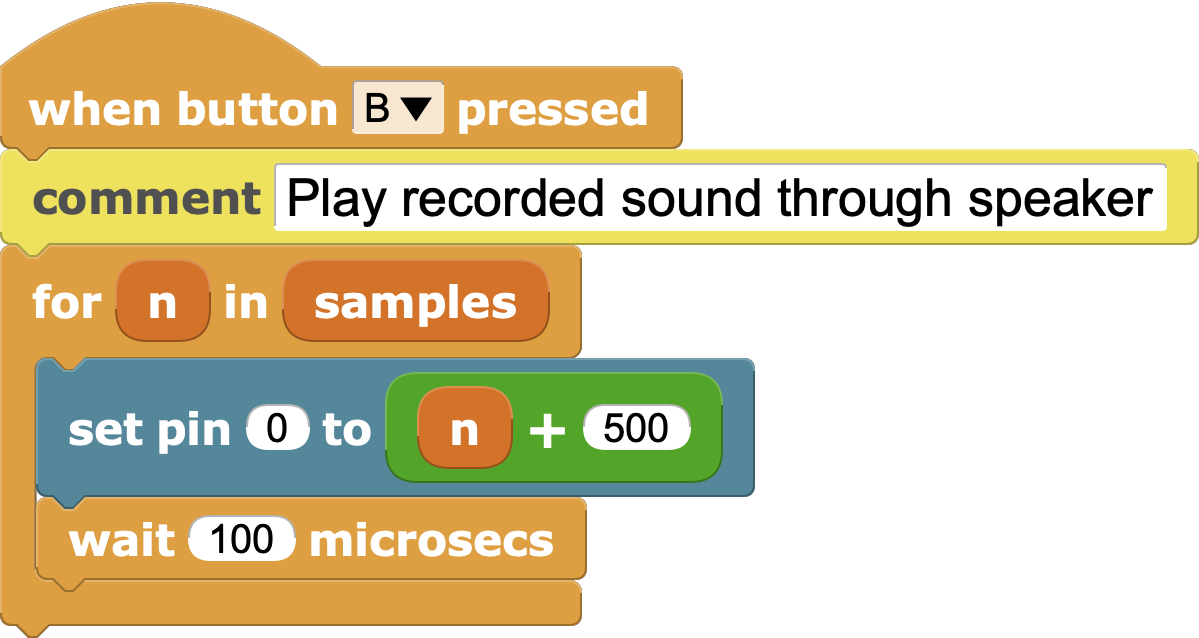
Connect the speaker to pins 0 and GND using alligator clips. Change the pin in the playback script from 27 to 0 to make the sound play through the speaker.

Electronics Trick
Connecting a small (~1-10 uF) capacitor in parallel with the speaker input will remove some of the roughness from the sound. The capacitor acts as a low-pass filter to "smooth out" the sound waveform generated by the micro:bit.
Graphing Sound
This script will graph the sound:

Record some sound, then open the graph and click the graph script to graph it.

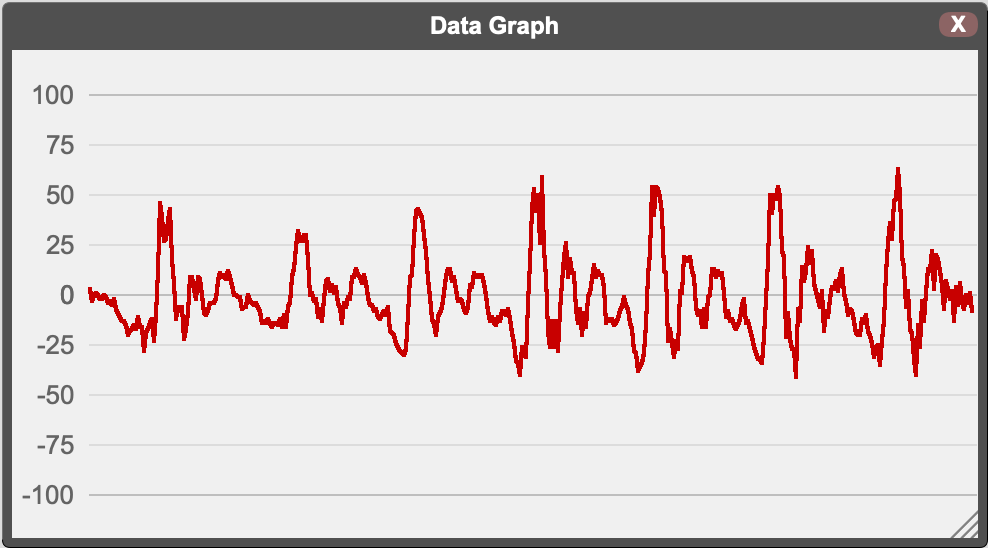
The graph shows the sound samples that were recorded from the microphone. The microphone converts sound waves into a varying voltage, which the micro:bit converts to numbers, which are collected by the record script. Graphing those numbers creates a visual representation of the recorded sound.

