
Introduction
In this series of experiments, you will explore the speed of your eyes, ears, and reflexes. At the same time, you will learn how to use the micro:bit to work with tiny amounts of time -- down to less than a thousanth of a second.
You will learn how to use time to control the blink rate of an LED, generate a tone, and measure the speed of your own reflexes.
Concepts
Local Variables
A local variable is defined using an initialize local block and used only within the script where it is defined. It lets you set or compute the value of the variable in a single place, then use that variable in multiple places within the script. Using local variables with meaningful names such as "delay" helps you remember how your script works and highlights values you may want to adjust to change the script's behavior.
Materials needed
- micro:bit
- Alligator clips
- LED (any color)
- Piezo speaker, headphones, or built-in speaker of micro:bit v2
Procedure
Make a Blinking LED
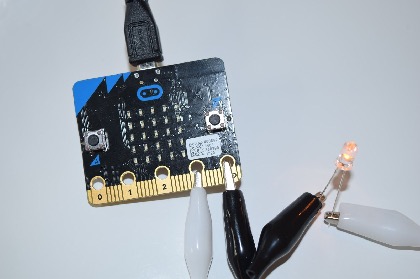
This activity begins with a simple program to make an LED blink. Use alligator clips or jumper wires to connect the long leg of an LED to pin 1 of the micro:bit and its short leg to GND. This block should turn the LED on:

If the LED does not turn on, check the connections. Is it connected to pin 1 and GND? You may need to reverse the connections to make the LED light up. This block will turn the LED off:

Try to make the LED blink by putting these two blocks in a forever loop.
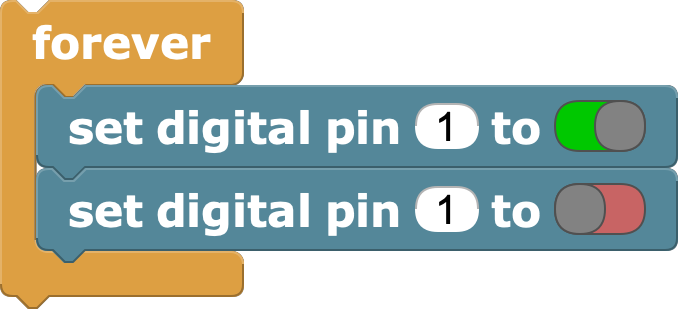
This script doesn't appear to do anything because the micro:bit turns the LED on then off again so fast we do not even see it.
To make the LED blink at a speed that humans can perceive, we need to slow things down by adding some wait blocks.
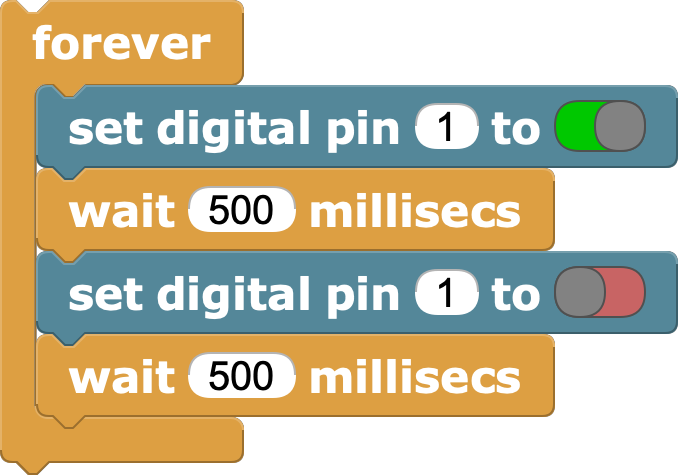
A millisecond is 1/1000 of a second, so 500 milliseconds is half a second. Because the forever loop has two half-second waits, the LED now turns on and off once every second, and it is easy to see each individual flash. What if we reduced those waits to 50 milliseconds each?
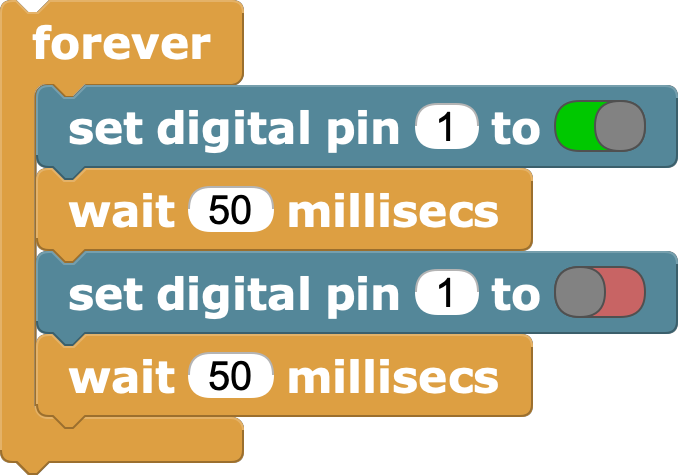
Now the light blinks 10 times every second. Nice! However, to change the speed, we had to change the numbers in both wait blocks, which is inconvenient. We can make experimenting with speeds easier by setting a local variable to the delay we want and using that variable in both wait blocks.
A local variable is a variable that is both defined and used within a single script. You don't need to create it with the Add a variable button and it doesn't appear in the Variables blocks category. Instead, a script's local variables are created when the script is started and disappear when the script finishes running. Local variables can only be used within the script that defines them.
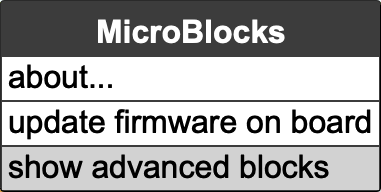
Since local variables are an advanced concept, you must first click the gear icon and select show advanced blocks.
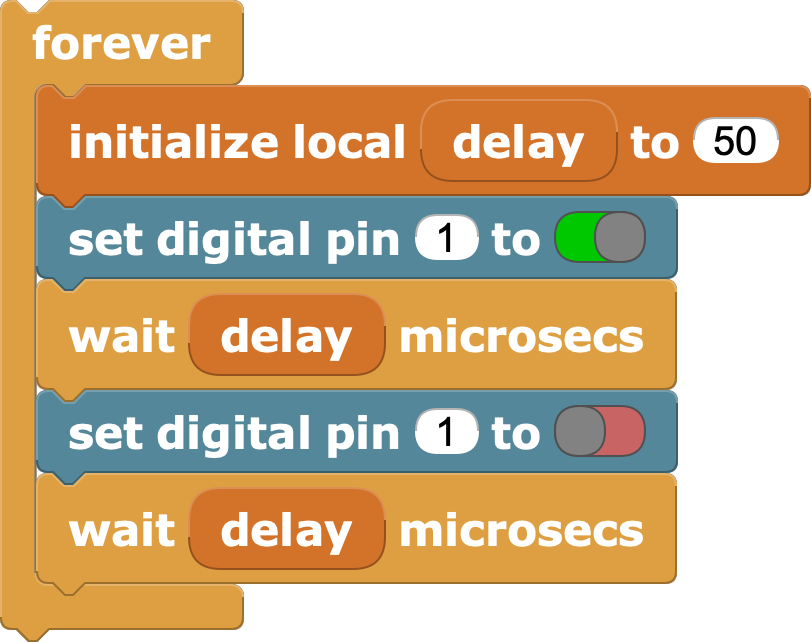
Drag an initialize local block from the Variables category into your script.

Click on on the embedded var block, change its name to delay,
then set its initial value to 50. Drag out copies of the delay block and
drop them into the slots in the two wait blocks.
How Fast Are Your Eyes?
Now we can run the script and change delay while it is running. After editing the delay, hit the enter key or click outside the block to accept the change. Gradually decrease the delay to make the LED blink faster and faster.
At some point, something curious happens. The LED will seem to stop blinking and glow steadily. That happens at different delays for different people. For most people, the LED will seem to stop flickering at delays between 15 and 7 milliseconds, or blink rates between about 30 and 72 flashes per second. The lowest blink rate at which the LED appears to glow steadily is called the flicker fusion threshold. See if you can find your own flicker fusion threshold!
This phenomenon is why computer displays usually refresh at 72 to 90 frames per second. Film movies have only 24 frames per second, but the movie projector flashes the light on and off three times during each frame, resulting in a flash rate of 72 flashes per second, above most people's flicker fusion threshold. Some people have a very high flicker fusion threshold. For them, movies, computer screens, and even fluorescent lights flicker, sometimes causing them eye fatigue or headaches.
One way to detect flicker beyond your flicker fusion threshold is to not look directly at the LED. That works because the light-sensitive rod cells around the edges of your retina are faster to respond to brightness changes (and motion) than the cone cells near the center of your retina.
Here's another way. With the blink script running, wave the LED back and forth quickly. You'll notice that the LED seems to leave a dashed line across your field of view as the micro:bit moves. This effect may be easier to see clearly with the lights dimmed.
How Fast Are Your Ears?
Adding Sound
Let's add sound to this program. If you are using the basic:bit, make sure the speaker is turned on. If you are not but are using a micro:bit v1, use alligator clips to connect a piezo speaker or headphones between pin 0 and GND.
In the script here, you'll see that blocks are added to turn pin 0 on and off. Run this program and, as before, slowly decrease the delay. What do you hear?

With delays of 50 or larger, you probably hear a series of clicks. As you decrease the delay, at some point, it starts to sound like a continuous musical tone. For most people, that transition happens at around 10 or 12 clicks per second (delays of 50 to 40).
Try some delays under 10 milliseconds. Each delay makes a different pitch even though (for most people) the LED just seems to glow steadily. You could say that our ears are faster than our eyes because they can detect smaller time differences.
Making Musical Notes
Try 2 and then 1 milliseconds. Each of those makes a tone with a different pitch. However, in musical terms those two tones are far apart -- an entire octave. If we wanted to play a song, there would be a lot of missing notes between 2 and 1 milliseconds. For music, we need to control time down to a finer granularity. Replace the two wait milliseconds blocks with wait microseconds blocks. You can also remove the blocks that control pin 1, since we won't be using the LED for music. Here's the resulting script.
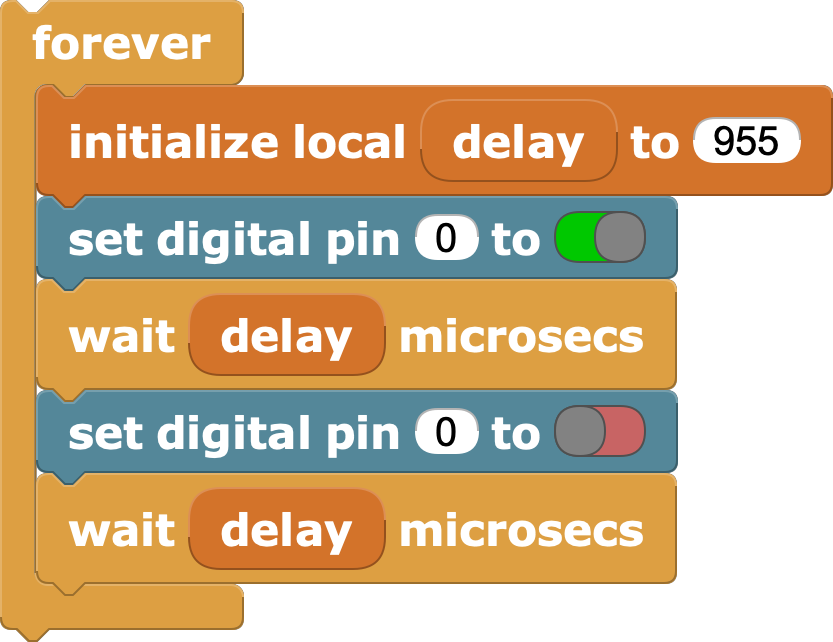
Try delays of 955, 850, and 755. Those delays approximate the first three notes the scale, do, re, mi.
To extend this example further, one might convert this script into a command block to play a note, then use that block to create a tune. Alternatively, one might import the MicroBlocks Tone library and use that to make music. Internally, the Tone library uses a script much like this one to generate notes.
How Fast Are Your Reflexes?
A microcontroller can also measure time! This script measures how many milliseconds a button is held down even when you press and release it quickly.
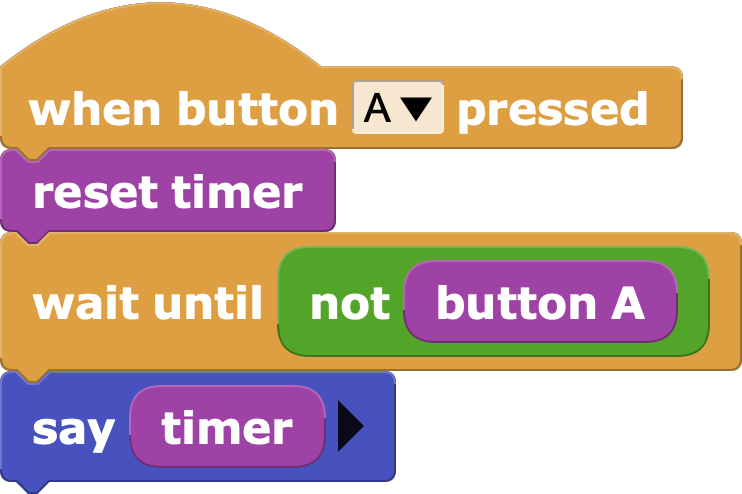
This script works in the same way you might use the second hand of a clock or watch to measure time. When the A button is pressed, the script resets the timer to zero, waits until the A button is no longer pressed, then shows a speech bubble with the elapsed time.
- What times do you get when you try this?
- What is the shortest time you can hold the button down?
Your reaction time is the time it takes to respond to something you hear or see, such as a traffic light changing. In order to react, your senses must detect the change, your brain has to tell your muscles to react, and your muscles have to respond. This script is a way to test your reaction time to a visual change -- the LED display turning on.
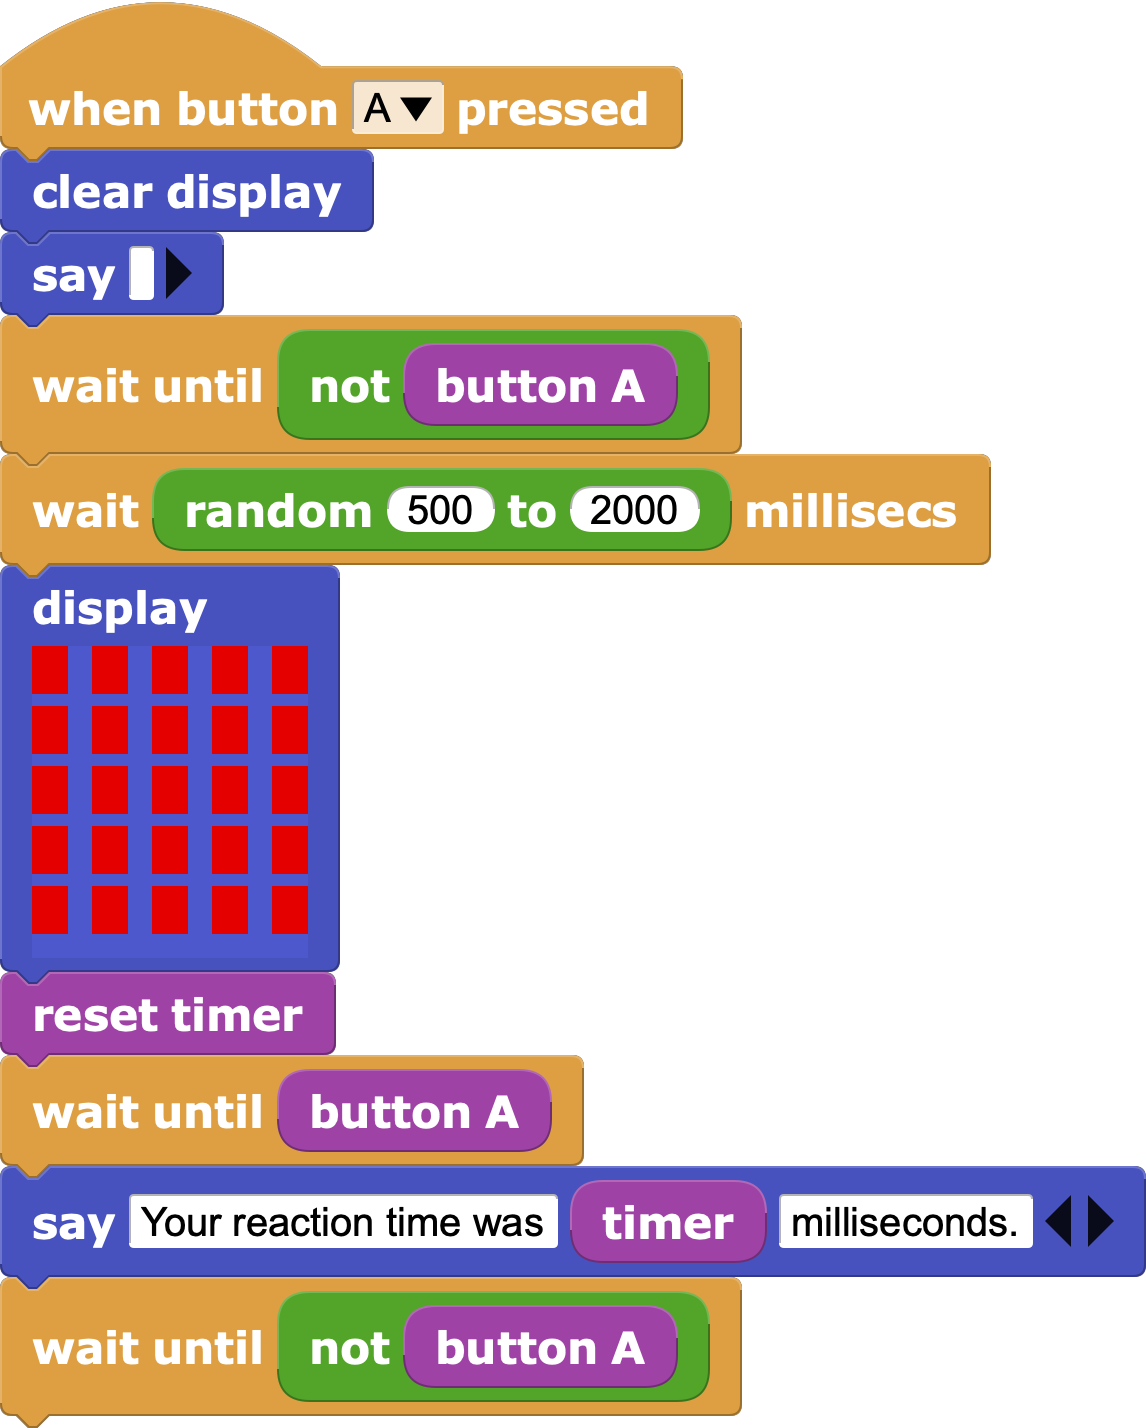
To run this script, click the A button, then quickly click the A button again as soon as you see the LEDs turn on. The timing part of this script is like the previous example, but it does not start timing you until the LEDs turn on. To keep you guessing, it waits a random amount of time before turning on the LEDs!
If you can get below 250 milliseconds you have good reflexes. Anything below 200 is super fast!